When AI technologies first publicly emerged, many of the reactions to it were similar to the way people fearfully encountered photography nearly 200 years before it: that it was a dangerous and inhuman technology that would diminish human creativity. Now, of course, it’s impossible to imagine our daily lives without photography being a core aspect of our experience, and AI will soon play a similarly universal role.
In fact, many new AI technologies are emerging that play direct supporting roles in the human art of photography, helping creatives unlock more efficient and accurate ways to create their images. Getting the right lighting in the face of changing conditions and new environments can often be a guessing game, but a suite of new AI tools can be easily integrated into the artistic process to give greater control and freedom within image making.
Here’s a step-by-step guide to using these tools to fine tune your lighting conditions in order to craft the perfect photoshoot for you.
1. Pre-Shoot Planning
a. Simulate Lighting Setups:
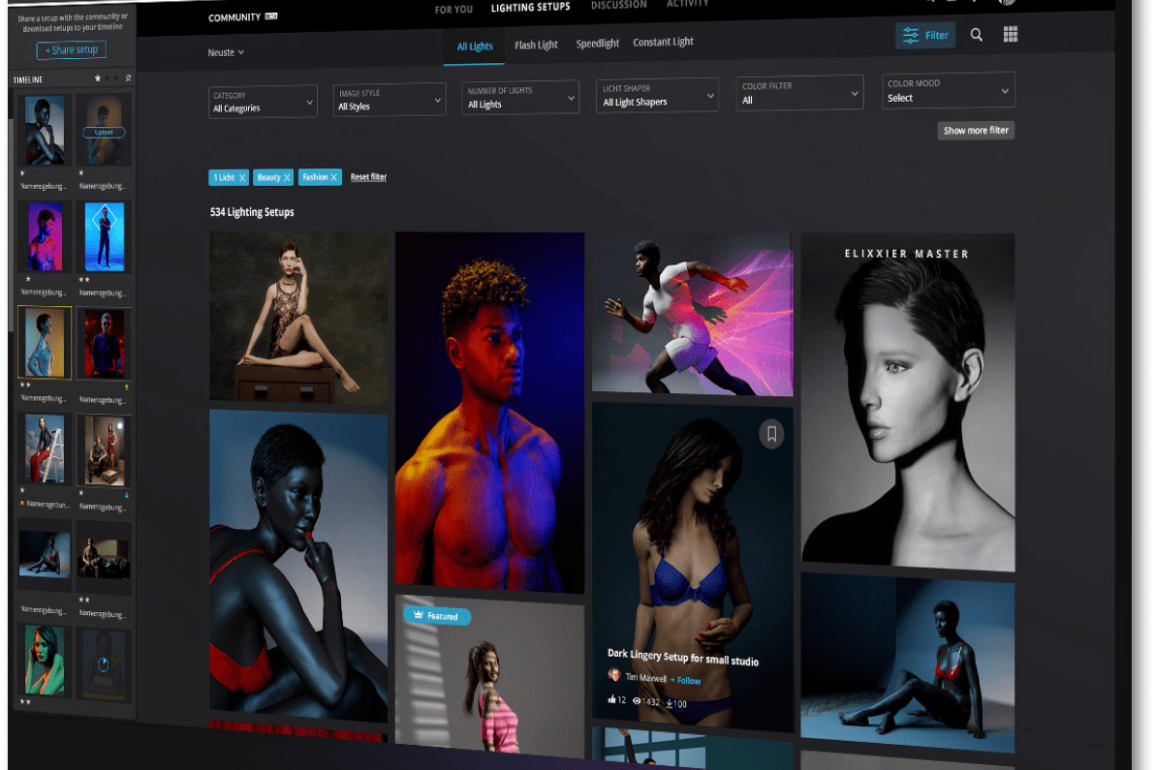
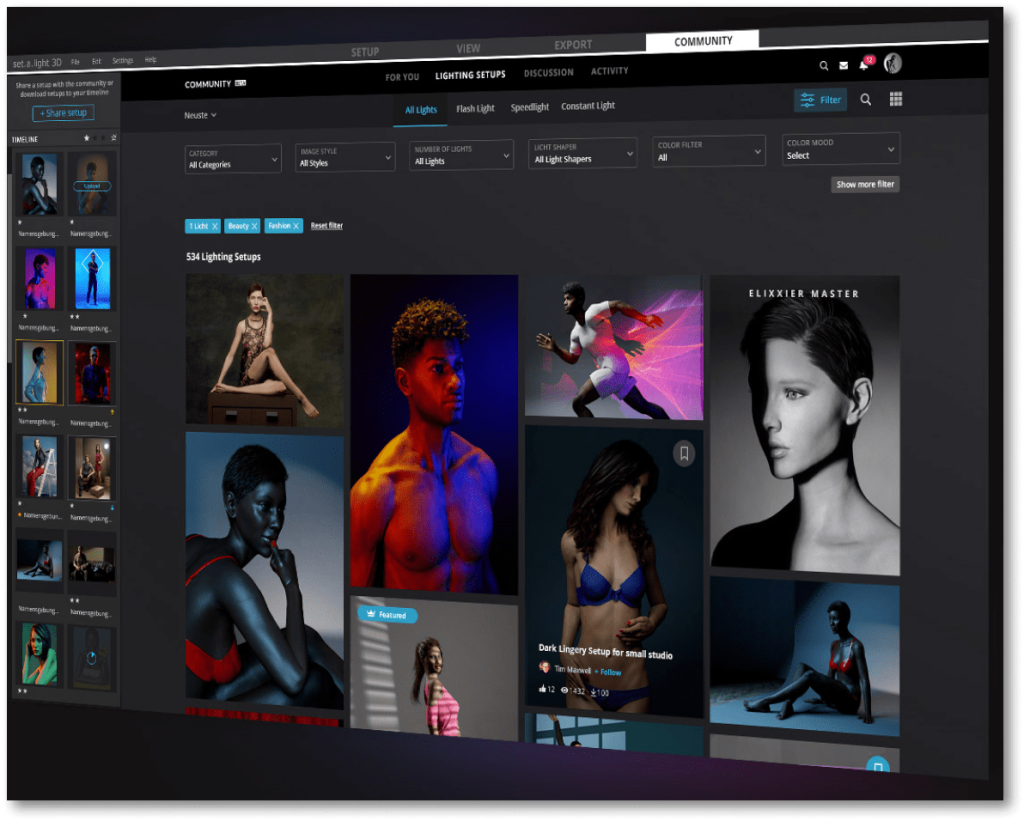
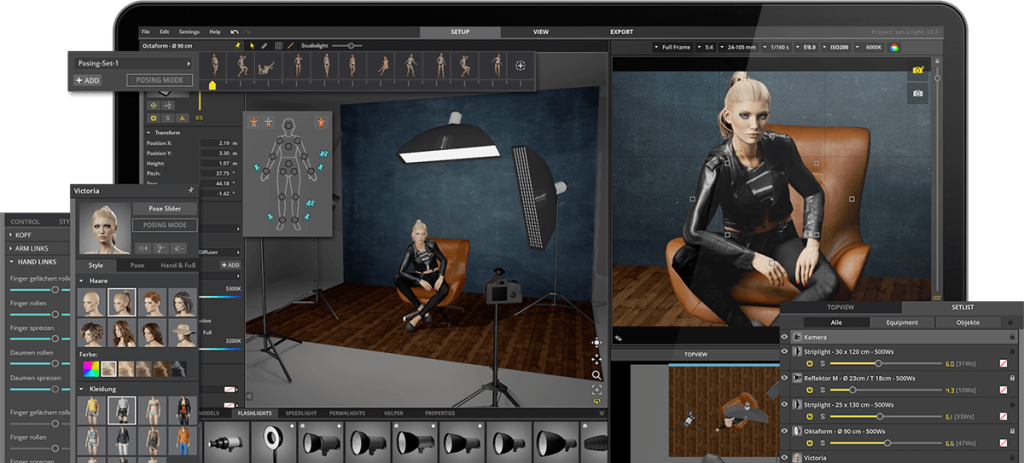
- Set.a.light 3D: Use this software to create a virtual environment of your photoshoot setup. Input details such as room dimensions, light sources, and subjects.
- Experiment with different lighting arrangements (key light, fill light, backlight) to see how they affect shadows, highlights, and overall exposure.
- Adjust the intensity, color temperature, and angle of each light source virtually to find the optimal setup.
b. AI-Powered Apps:
- Lightmap HDR Light Studio: Similar to Set.a.light 3D, this app helps you design and visualize lighting setups.
- Use its AI features to get recommendations based on the type of photoshoot (portrait, product, landscape) and the mood you want to achieve.
- Save different configurations to compare later or use on the shoot day.
2. On-Site Adjustments
a. Light Meter Apps:
- LightMeter or Pocket Light Meter: Use your smartphone to measure the light intensity in your shooting environment.
- Position your light meter app at the subject’s location to get accurate readings of the lighting conditions.
- The app will provide exposure settings and suggest changes to light positioning or power.
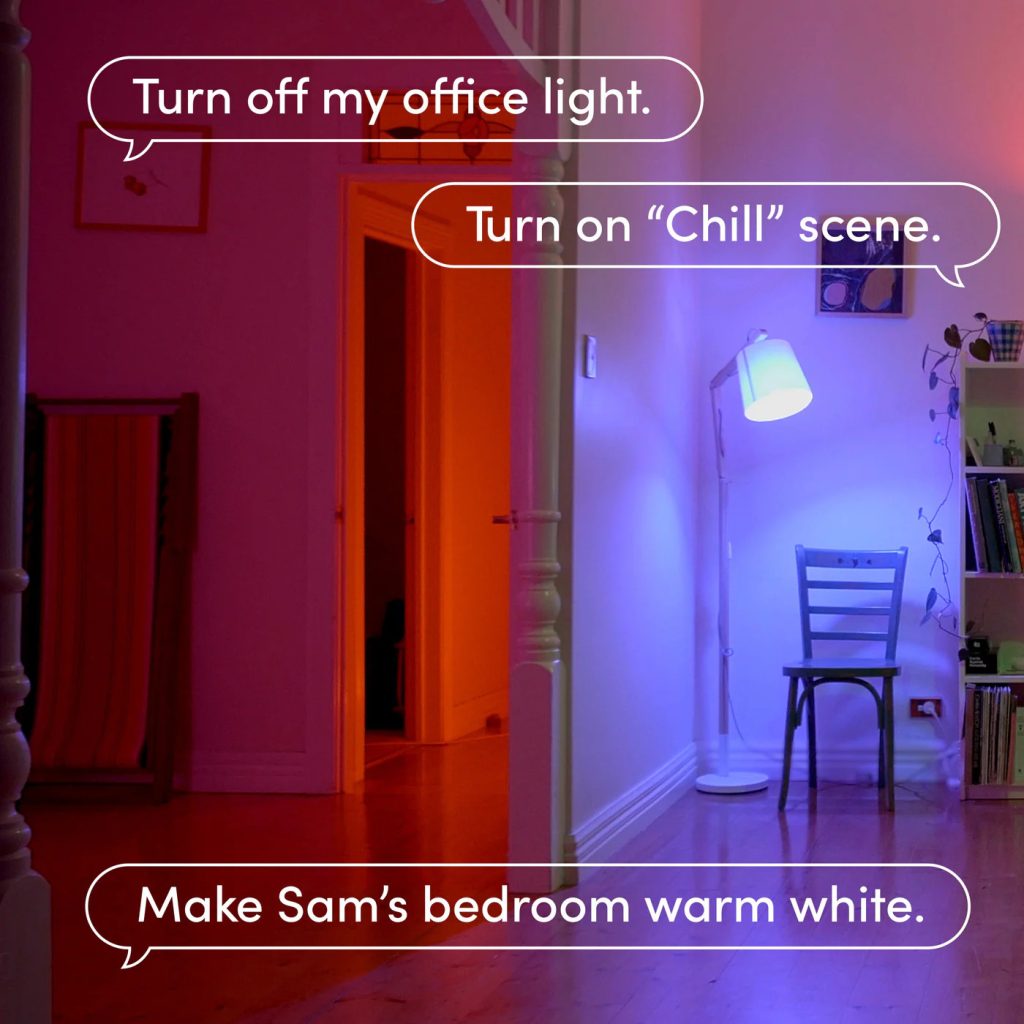
b. Smart Lighting Systems:
- Philips Hue or LIFX: Set up smart lights in your photoshoot area.
- Use the app to control the lights’ brightness, color, and temperature.
- Adjust settings based on real-time feedback from your light meter app or by observing changes on your camera’s live view.
c. Real-Time AI Assistance:
- Use AI virtual assistants like Google Assistant or Amazon Alexa integrated with your smart lighting system.
- Give voice commands to adjust the lighting while you continue shooting.
- Ask the assistant for lighting tips based on the current time of day and ambient light conditions.
3. Post-Shoot Analysis
a. Analyzing Test Shots:
- Adobe Lightroom: Import your test shots and use Lightroom’s AI-powered features to analyze the lighting.
- The software can suggest adjustments to exposure, contrast, and white balance.
- Apply these suggestions and compare the before and after results to determine the best settings.
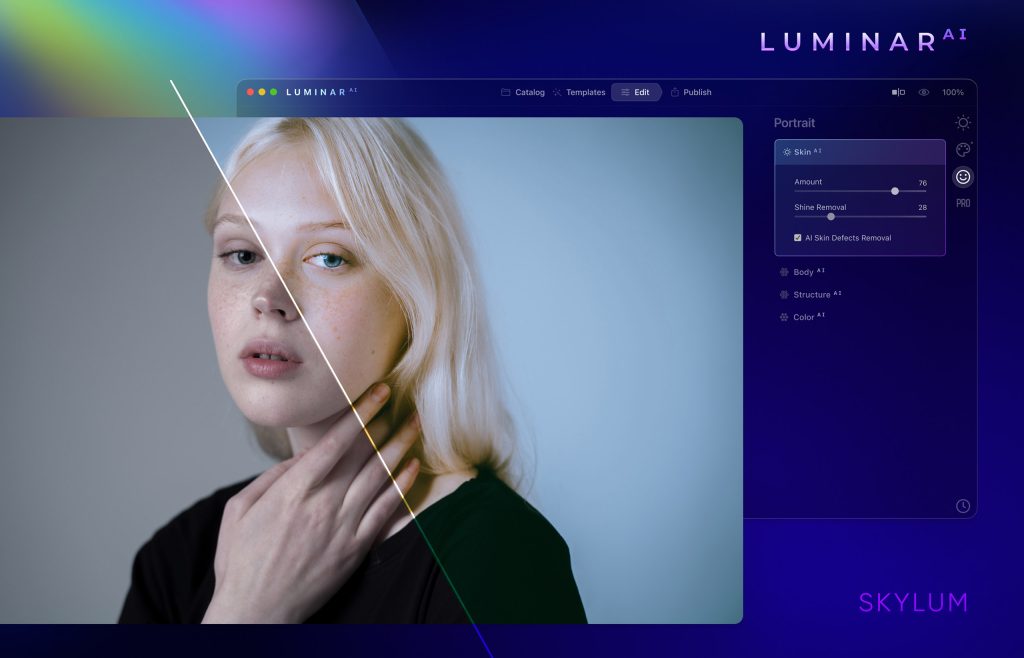
b. Luminar AI:
- Use Luminar AI to enhance your photos with its AI-driven tools.
- The “Relight” feature can simulate different lighting conditions and suggest improvements.
- Save the AI adjustments as presets for future reference.
c. Data-Driven Improvements:
- Collect data from your photoshoots (lighting setups, camera settings, image results) and feed this into machine learning models if you have the expertise.
- Use tools like TensorFlow or PyTorch to build models that can predict optimal lighting setups based on past data.
- Utilize these predictions to refine your lighting plans for future shoots.
4. Ongoing Learning and Improvement
a. Join Online Communities:
- Participate in forums like DPReview or Photography Stack Exchange to learn from other photographers’ experiences with AI tools.
- Share your results and get feedback on how to improve your lighting setups.
b. Experiment and Iterate:
- Continuously experiment with different lighting setups and AI tools.
- Keep track of what works best in different scenarios (portraits, products, indoor, outdoor).
- Regularly review and update your techniques based on new AI advancements and personal findings.